The pipe threading machine meets this exact need, allowing mechanics to create threads directly on iron, steel, aluminum, or plastic pipes without relying on external workshops.
Its most common applications are in the installation of gas, water, chemical, and fuel piping systems. This article will guide you through a few simple steps to operate a pipe threading machine effectively.
The pipe threading machine is widely used in these industries thanks to its ability to create threads quickly and accurately, making the connection of pipes to fittings or other components easier and more precise.
Operation on pipe threading machine
Operating a pipe threading machine is not overly complicated, but proper technique is essential to ensure both safety and thread accuracy.** Depending on the type of machine (manual, semi-automatic, or fully automatic), the basic process generally consists of four main steps.
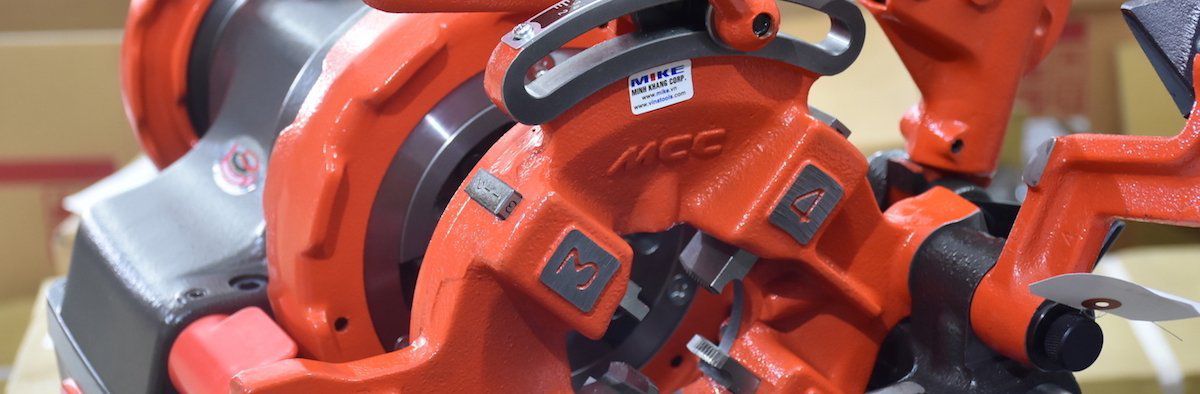
Step 1: Select the correct pipe type, check its dimensions, and make sure the machine is ready for use. Verify the power supply, cooling system, and oil pump are functioning properly. Insert the pipe into the correct position within the chuck. The chuck should be evenly tightened, then securely fastened again to avoid misalignment during threading. The cutting tool and die head should also be checked for compatibility with the pipe being used.
Step 2: Set up the machine and secure the pipe. Open the cutting arm and gently adjust the blade so it touches the pipe surface. Then, start the machine. The threading die is selected based on the pipe diameter and pitch, mounted on the holder, and adjusted so it aligns precisely with the pipe surface. The rotation speed should also be set according to the pipe material to ensure a clean, sharp thread without breakage or burrs.
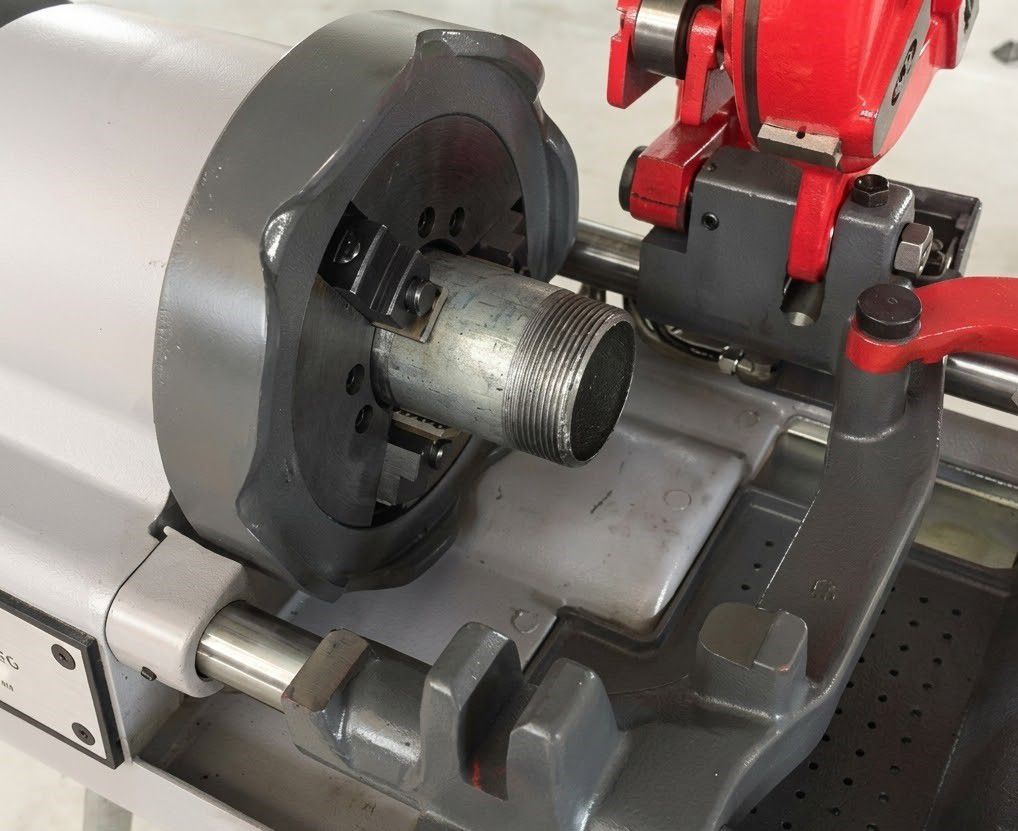
Step 3: Once the machine is running and the pipe is securely clamped, proceed with removing burrs and starting the threading. The operator gently presses the cutting tool against the pipe surface while positioning the burr-removal blade at the correct point during operation. A light pressing motion is used to strip off the burrs from the pipe end—typically only one or two rotations are needed.
Step 4: Lower the die head into position, and the blade will begin cutting the thread slowly along the pipe's length. Throughout the process, the cooling system continuously circulates lubricant to regulate temperature and reduce friction, ensuring sharp, clean threads without burning or chipping. The operator turns the handle evenly with both hands until approximately 1.5 to 2 full thread crests are formed, then releases.
Once threading is complete, turn off the machine and remove the pipe from the chuck. The final step is to check the accuracy of the threads using a caliper or other specialized measuring tools** to ensure proper pitch, depth, and smoothness. If any burrs or thread debris remain, clean them thoroughly to ensure a perfect joint ready for assembly.
Notes to follow when using pipe threading machine
When working with a pipe threading machine, whether manually or electrically operated, safety should always come first. This equipment operates on a continuous rotation mechanism, so even one wrong move can pose a danger to the operator. Therefore, always remember to wear gloves, protective goggles, and keep your hands and face away from the rotating parts of the machine while it is running. Before plugging in the machine, ensure the switch is turned off and always clamp the pipe securely before starting the machine to minimize risks.
When not in use, it is recommended to completely disconnect the power, especially before cleaning, replacing accessories, or performing maintenance. The machine should also be operated in a dry, stable environment, away from damp areas or potential electrical leakage risks. Keep the work area tidy, free from flammable chemicals, and never allow the machine to run unsupervised.
The pipe threading machine should only be used for its intended purpose – threading and cutting pipes. Do not attempt to use the machine beyond its capacity or for incompatible materials. Additionally, regular maintenance is essential, including greasing, changing oil, and checking wires or die heads. Only use genuine accessories from the manufacturer, as using unsuitable components can not only affect performance but also reduce the machine’s lifespan. If any irregularities are detected, have the machine checked promptly instead of continuing to use it.
Common user errors
During the use of a pipe threading machine, encountering issues is inevitable, especially when the machine has been in operation for a long time or is improperly installed. One common mistake is when the machine fails to create threads due to the cutting blade being installed incorrectly. While this may seem like a minor issue, it can easily be overlooked if the user doesn't thoroughly check before starting the machine.
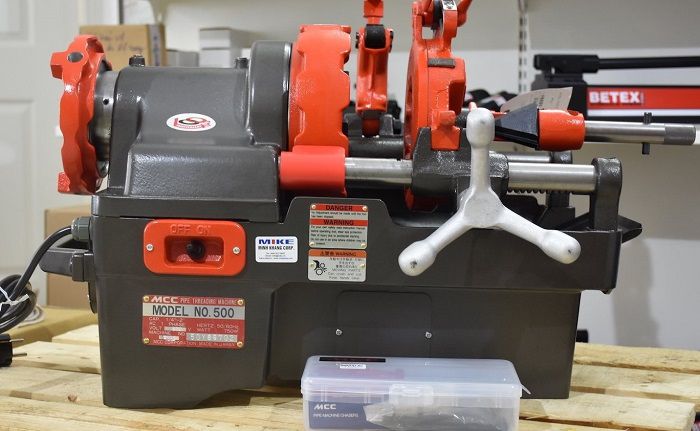
Another common problem is when the motor doesn’t work, often due to a damaged motor, an overload sensor shutting off, or an incompatible power supply. In cases of overload, it's best to turn off the machine and allow it to rest for about 10-20 minutes before attempting to restart. If the motor is damaged, contacting a technician for inspection or replacement is necessary.
Sometimes, the cutting blade may slip and fail to cut, usually because the cutting blade's fastening bolts are loose. A simple check and tightening of the bolts will resolve this issue. Another issue could be when the pipe slips during threading and doesn’t rotate. This is typically due to improper pipe diameter adjustment. In such cases, simply adjusting the handle according to the manufacturer’s guidelines will fix the problem.
In addition to the above errors, poor thread quality is also a common problem. This can be caused by selecting the wrong threading die, an inappropriate rotational speed, or insufficient lubrication during machining. When misalignment, unevenness, or excessive burrs are detected in the threads, the operator should stop the machine to check the cutting tool, cooling system, and settings before continuing use.
Conclude:
Understanding the need for pipe threading machines, EMIN is proud to be a company with over 13 years of experience in importing and distributing genuine pipe threading machines. We bring to the Vietnamese market products from renowned brands in Japan, Poland, the Netherlands, Taiwan, and China – highly regarded by customers for their durability, stable operation, ease of use, and minimal issues during operation.
What materials can a pipe threading lathe machine process?
Pipe threading lathes can be used for many materials such as steel, galvanized steel, stainless steel, aluminum, or some types of plastic pipes, depending on the machine's power and the threading die used.
When should the pipe threading die be replaced?
The threading die should be replaced when there are signs of wear, the thread is no longer sharp, excessive burrs appear, or the machining time is longer than normal.
How to achieve high threading accuracy?
Users need to select the correct die size, securely fix the pipe, use sufficient lubrication, and adjust the rotation speed to suit each type of material.
Is periodic maintenance of the pipe threading lathe machine necessary?
Yes. Regularly checking the lubrication, cleaning the threading die, and inspecting the electrical system and mechanical parts helps the machine operate stably, reduces damage, and extends the equipment's lifespan.