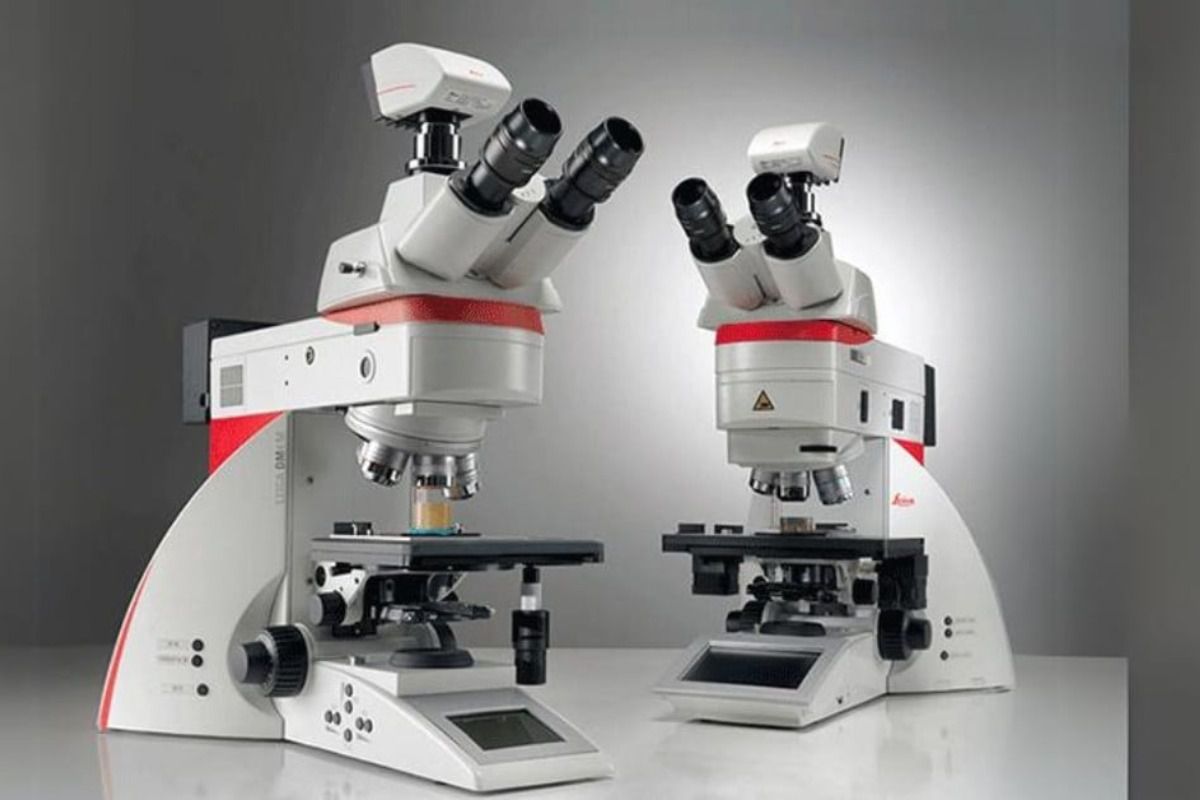
When viewed vertically through a microscope, light travels from the light source through the specimen, through the objective lens, and then to the eyepiece. This explains why the microscope is always at the top and this position remains unchanged across different microscope models.
Monocular microscopes have only a single lens. Binocular or triocular microscopes, however, have two or three observation tubes, all located at the top of the microscope.
How does the eyepiece position relate to the objective lens?
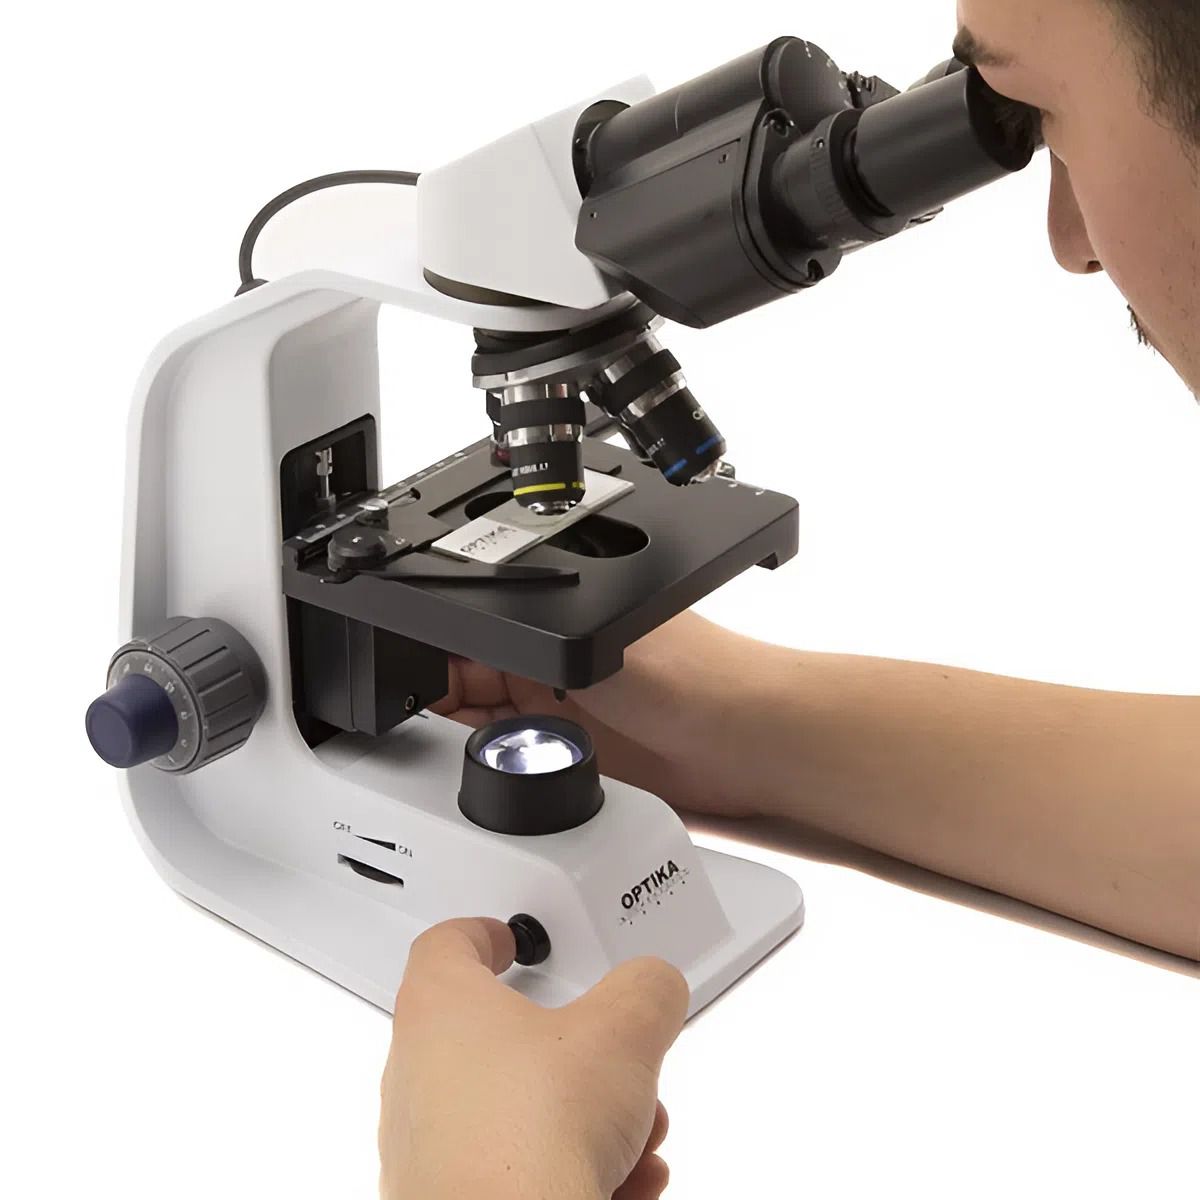
One common misconception is that the eyepiece is located near the specimen. The opposite is true. The objective lens is the part closest to the specimen and is responsible for creating the initial image. The eyepiece only receives this image and magnifies it before transmitting it to the user's eye.
Therefore, when operating a microscope, all focusing adjustments are made in the objective lens and stage area, while the eyepiece remains fixed above.
Why is the eyepiece always placed at the top?
This design is directly related to the operating principle of an optical microscope.
The optical system is arranged along a vertical axis, ensuring that light travels in the correct direction without distortion. If the eyepiece is moved lower, the light path will be disrupted and the image will no longer be accurate.
Besides technical considerations, this position also makes observation more convenient. Users only need to adjust their head and eye position, avoiding the need to bend down deeply or change working positions multiple times.
Types of eyepiece arrangements on microscopes
Depending on the design of each type of microscope, the head containing the eyepieces may vary, but the overall position remains the same.
Upright microscopes usually have eyepieces positioned along the vertical axis, suitable for a fixed workbench. Some modern models have an angled head to reduce neck strain during prolonged observation. With triocular microscopes, an additional port is added for attaching a camera, but the two main eyepieces remain in the top position.
The difference lies in the viewing angle and the number of lenses, not in the basic position of the eyepiece within the system.
Read more: How to adjust the eyepiece on a microscope?
Points to note when observing through the eyepiece
The observation experience depends not only on the objective lens but also directly on how the eyepiece is used.
The distance between the two eyepieces on a binocular microscope needs to be adjusted so that the image merges into one. Otherwise, the image will be distorted or cause eye strain.
With models that have a diopter adjustment ring, proper adjustment ensures a clear image without relying entirely on the focus knob. This is an important factor when using the microscope for extended periods.
Additionally, the eyepiece surface needs to be kept clean. Dust or fingerprints in this area can directly affect the quality of observation.
ZEISS Stemi 508 Stereo Microscope
In the stereomicroscope segment, the Stemi 508 series from ZEISS is one of the most popular models used in labs, for component inspection, and for studying large specimens. This series stands out thanks to its design optimized for direct handling and extended observation.
The Stemi 508 has a built-in camera connection, convenient for recording and presenting images during work or training. The standard magnification range is from 6.3x to 50x, and can be extended to higher levels for more detailed observation.
The 92 mm working distance provides ample workspace, suitable for direct intervention on specimens such as repairs or assembly. Additionally, the interpupillary distance is adjustable from 55 mm to 75 mm, allowing for comfortable use by a wide range of users.
The 35-degree tilted viewing angle reduces strain on the neck and eyes during continuous use, particularly useful in environments requiring prolonged observation.
On all types of microscopes, the eyepiece is always located at the top and serves as the endpoint of observation. Clearly distinguishing the positions of the eyepiece and the objective lens allows for more precise operation and avoids common mistakes when using the equipment in practice.